
![]()
First super geeky post! YaaaY! *takes a bow*
This stick is mostly made to remind myself of how to create a new project in AppEngine Java. So to get straight to the point, here are the steps in creating a new project using the Maven CLI.
PS: This is assuming you’ve already installed maven, eclipse and the AppEngine SDK. If not please refer to This Getting started guide
- Open the directory(folder) where you would want the project to be created from your terminal
- Type
mvn archetype:generateand hit enter. - If it’s your first time, you’ll have to wait for it to download a bunch of stuff from the internet.
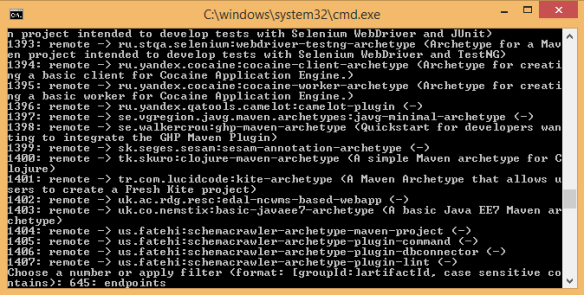
- When it’s done you’ll be asked to “Choose a number or apply a filter”. Type in “endpoints” (pictured below)
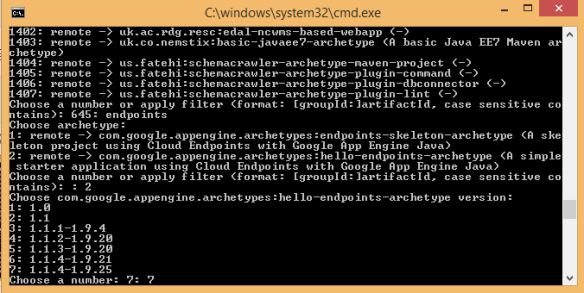
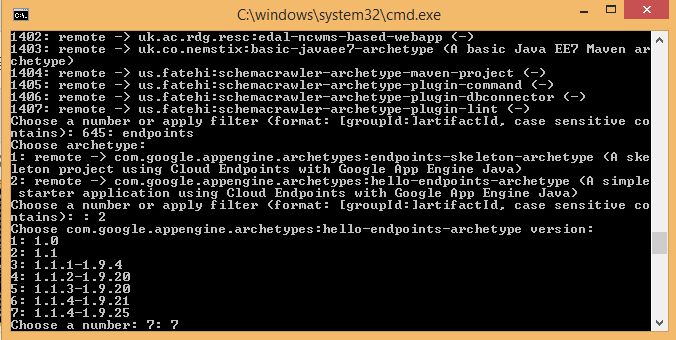
- It would give you a list of 2 endpoint archetypes and to pick. I usually pick the 2nd one. Select it by typing 2 and pressing enter.
- Then it would ask you to pick a version of the 2nd one you selected. Google keeps adding more versions as AppEngine keeps growing so I would pick the latest one just to see what new functionality they’ve added to the demo.
- Then you type in your groupID, artifactID, version and package. Examples below
- groupId: com.example.myappName
- artifactId: myappName
- version: 1.0-SNAPSHOT (that’s the default so you just press enter)
- package: (don’t worry about this one too, just press enter)
- Press ‘Y’ to confirm with the CLI on your chosen options and boom. the project is created.

You can go find your project in the folder and simply import it into Eclipse and start working with it there. Hope this helps.
